

What are the topmost NodeJS practices for developers?.
Node.js, a platform based on Chrome's JavaScript motor assists with growing quick, adaptable system applications. It utilizes an occasion driven,...
2 min read
Many of us need to integrate a billing system in our web-based application to bill customers. Chargify is one such recurring billing management system that allows you to manage subscriptions and bill customers by integrating it with you site all validations and reports are handled by chargify and so there's no need to build a custom billing application. Its a reliable Software-as-a-Service (SaaS) offering and it supports a number of gateways worldwide.
We faced the same issue while integrating a Ruby on Rails app with Chargify.
This blog demonstrates how you can integrate chargify in your Rails3.x app and test it in the test mode.
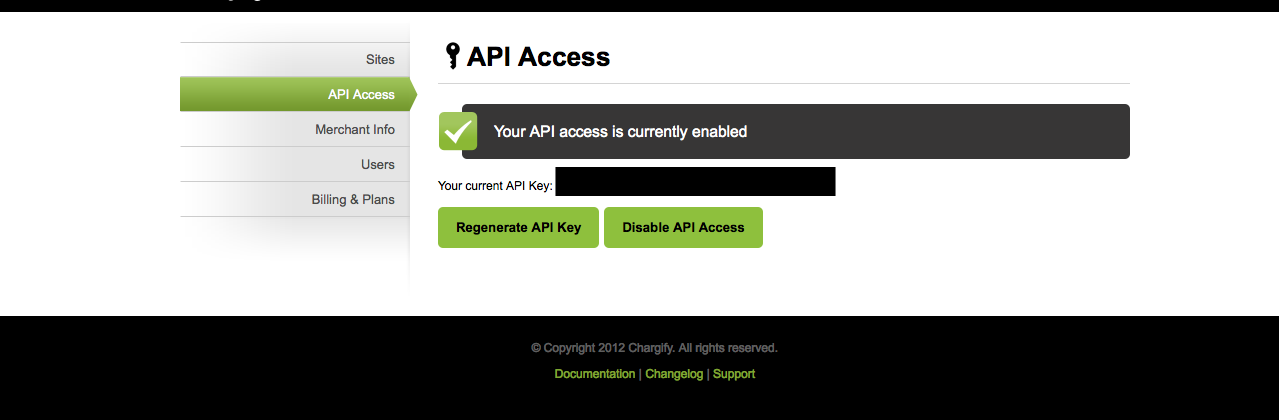
Add a site on your Chargify account. Note down the subdomain entered during the process.
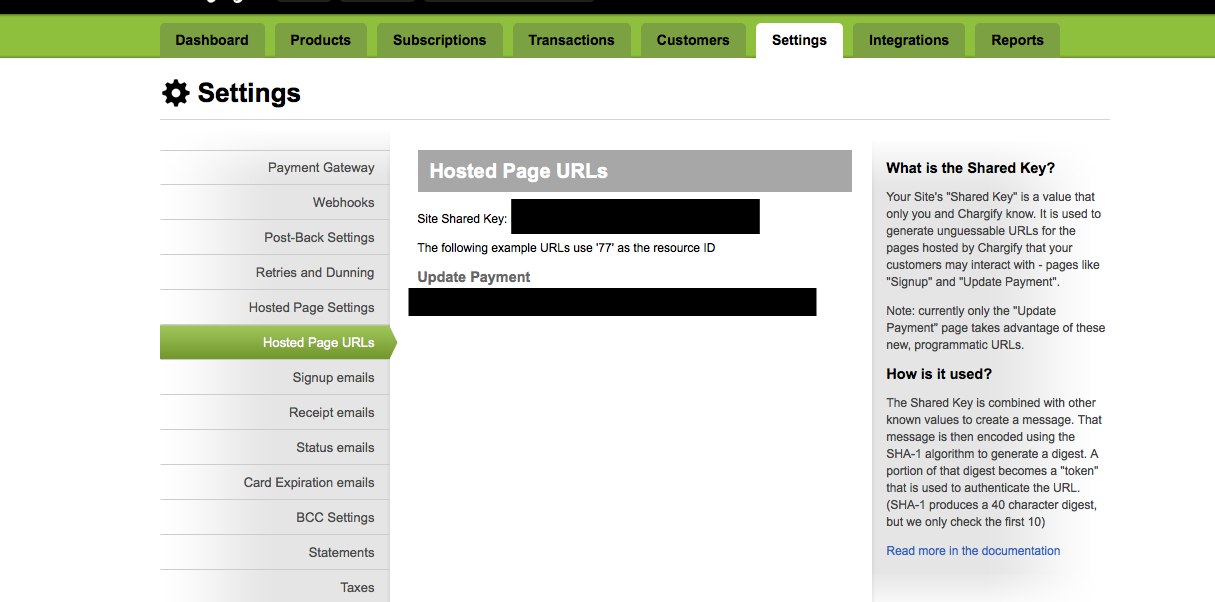
Click on the newly created site and add products. Note down the product-handle entered during this process. Note down the site shared key from Sites -> Your Site -> Settings -> Hosted Page URLs
Rails App
Download the rails demo app from this link https://github.com/newgenappsa/chargify-rails3.x
Note that official 'Chargify API wrapper for Ruby' gem is included in the Gemfile: gem 'chargify_api_ares'
Install the gem using the bundle install command
Replace subdomain, api_key and site_key noted above in the chargify.yml configuration file placed inside config directory
Replace product_handle in the payment_controller.rb file.
Run rake db:create rake db:migrate and finally run rails server Explanation
There's a chargify.rb file inside config/initializers which loads the chargify.yml file. In the payment_controller -> create action, using customer_attributes, we create a new subscription and a new customer during the subscription process using customer_attributes:
@subscription = Chargify::Subscription.create(
:product_handle => product_handle,
:customer_attributes => {
:first_name => params[:payment]['first_name'],
:last_name => params[:payment]['last_name'],
:email => params[:payment]['email_address'], },
:credit_card_attributes => {
:expiration_month => params[:payment]['expiration_date(2i)'],
:expiration_year => params[:payment]['expiration_date(1i)'],
:full_number => params[:payment]['card_number'] } )
We've used a product_handle to identify the product we want to subscribe to. You can choose to replace it with a product id.
We then save the subscription @subscription.save Based on whether the subscription is successful or not, we direct the user to the next page which displays the successful transactions summary or the same page which displays the errors.
If the subscription is successfully created, we fetch the subscription attributes, and get the subscription id of the newly generated subscription:
json_object = @subscription.attributes.to_json
parsed_json = JSON.parse(json_object)
subscription_id = parsed_json['id']
We use it to fetch transactions in the next page. The _form.html.erb view includes the fields which are displayed in the hosted url. You can choose to add optional fields per your requirement as explained in the chargify help docs.

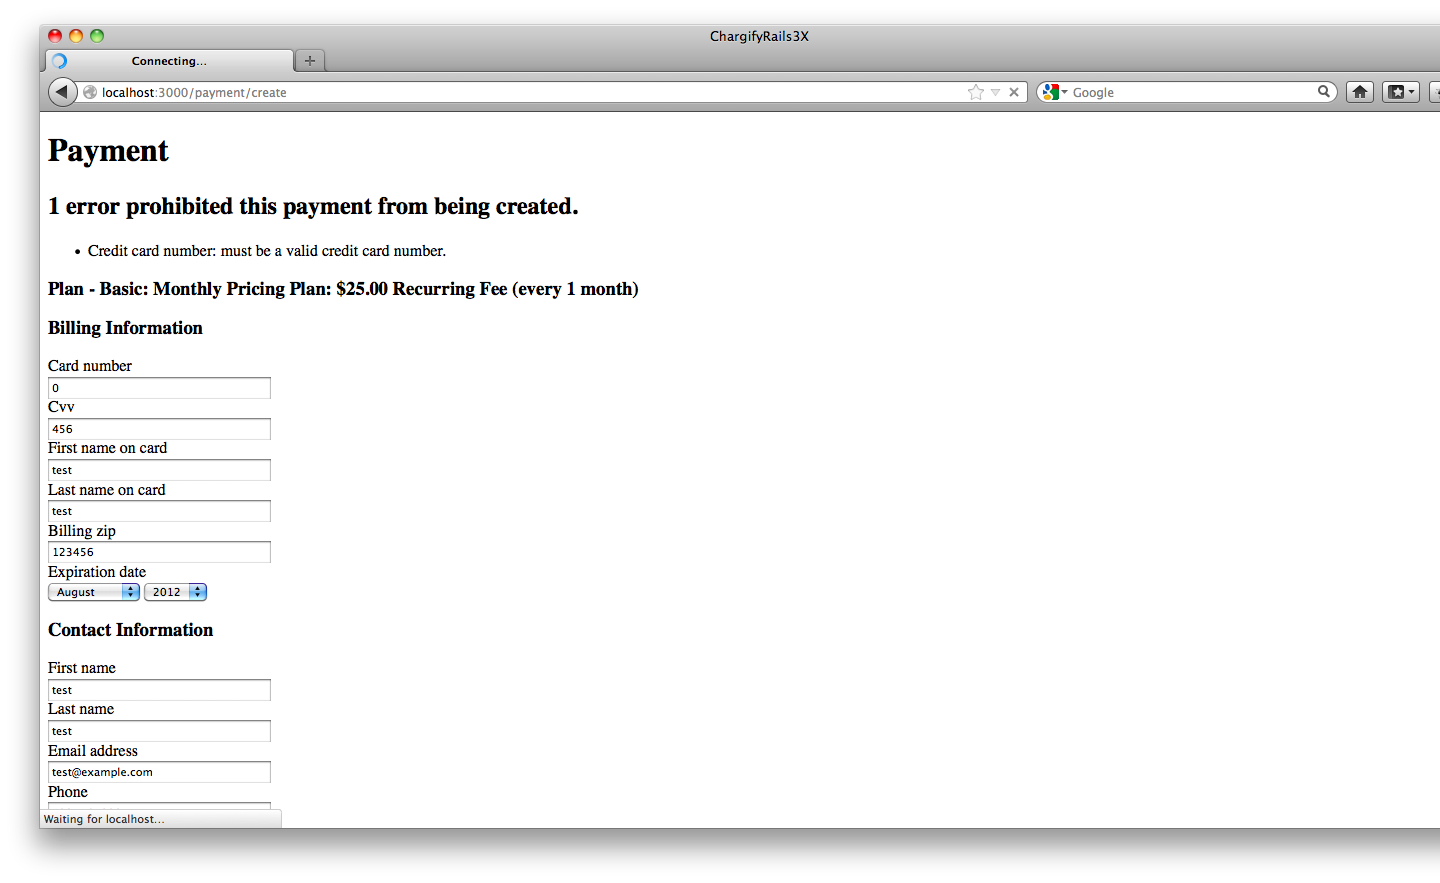
Chargify does the validation once you submit the form and any errors from chargify can be displayed to the user as:
<%if @subscription != nil %>
<% if @subscription.errors.any? %>
<div id="error_explanation">
<h2><%= pluralize(@subscription.errors.count, "error") %> prohibited this payment from being saved:</h2>
<ul> <% @subscription.errors.full_messages.each do |msg| %>
<li><%= msg %></li>
<% end %> </ul> </div>
<% end %>
<%end%>
In the payment_controller -> index action we find for a list of successful subscription transactions
subscriptions = Chargify::Subscription.find(session[:subscription_id])
@transactions = subscriptions.transactions
and display them in the index.html.erb as follows:
<h3>Payment History</h3>
<table>
<tr> <th>Date</th> <th>Type</th> <th>Amount</th> <th>Description</th>
</tr> <% @transactions.each do |transaction| %> <tr>
<td><%= transaction.created_at %></td>
<td><%= transaction.type %></td>
<td><%= ((transaction.amount_in_cents)/100).to_s + ' USD' %></td>
<td><%= transaction.memo %></td>
</tr> <% end %>
</table> 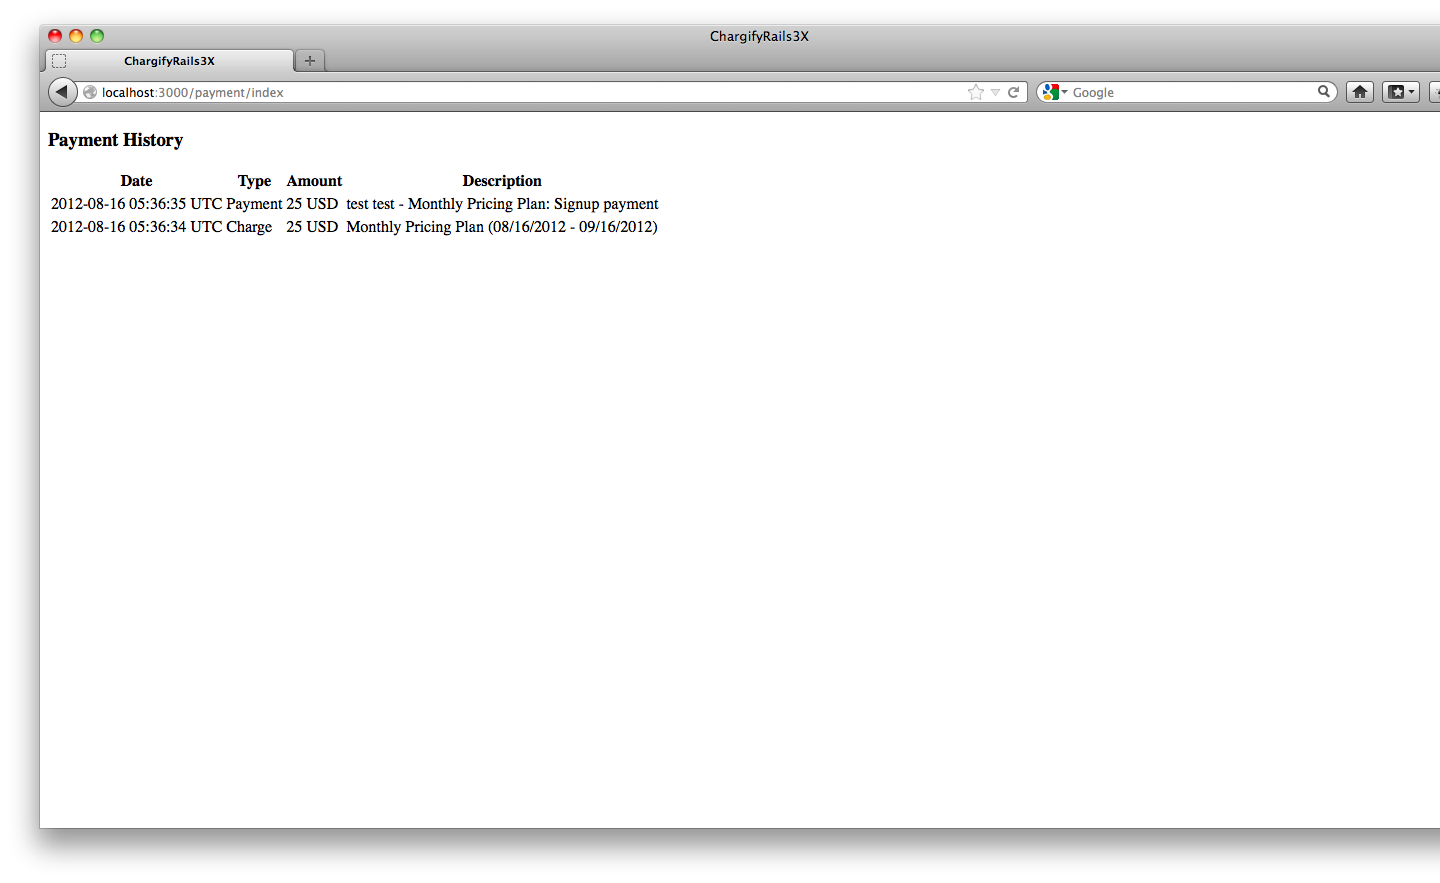
Note that you need to enter card number as 1 in the test mode. That's the only valid card number in the test mode. This is how you can integrate Chargify to your site. This is a most basic example. You can add other optional fields mentioned in the chargify help docs and refer chargify API to see if you need any other feature from it.
If you liked this post, do not forget to share it.

Node.js, a platform based on Chrome's JavaScript motor assists with growing quick, adaptable system applications. It utilizes an occasion driven,...
What could be the ultimate goal for each business person? Increase the number of sales!!! In any case, driving traffic and offering amazing...
